If you still think that the best place to have a roleplaying encounter is inside your head then I will wholeheartedly agree. Nothing can beat a good imagination when it comes to special effects and getting even the most minute detail just right. So what arguments can be made for visual aids?
Where it excels at imagination, our brains suck at communicating what you see to others in real-time, especially when there is a whole group involved. Visual aids are not meant to replace the imagination. They are meant to get everyone on the same page as far as the important aspects of the encounter are concerned.

Use them to show where friends and enemies are. Make use of them quickly determine range and effects of attacks. Place obstacles where they are intended to be rather than where the players thought they might. They eliminate misunderstandings regarding the surroundings. But what are visual aids, actually?
What are Visual Aids?
A visual aid is something that represents part of the scene on the table. At its very basic, you can use a sheet of paper, draw a few walls on it and use bottle caps to show where the characters are standing.
Many roleplaying rule sets actually use a grid to represent character movement and the range and effect of their activities. A pretty common scale is the 1″-grid (roughly 2.5 cm). This allows maps and miniatures to be compatible with one
another, and with graph paper available in that size (look for flip chart paper), this is a good option if you want to keep things abstract.
From there, you can go more and more complex, depending on what you want and what you need. There are three main categories of visual aids (four if you count “lifelike” things), which I will go into below. But first, let us get one thing out of the way – the idea that visual aids take away from the fun because they do not!
“But won’t that cramp my Style?”
Unless your style thrives on misunderstandings and going back and forth about minor details, then the answer is “No, it definitely won’t.”
Imagine this: the GM says, “You enter a storage room. You see the Goblin, who immediately hides behind a barrel.” Now one player imagines a large room with only a barrel in it. Another envisions a small shed crammed with crates. And the dwarf swings his ax to split the barrel in two, assuming that he is in range.
Do you see the problem? There is nothing wrong with what the GM said, but there is no way for the players to see the scene the same way that she does. Yes, you can ask questions and flesh out the scene, but here is a simpler way.
As they enter the room, the GM draws the dimensions (as in walls) on a sheet of flipchart paper – four lines with a gap for the door. Then she draws a few boxes for crates and circles for barrels and places a goblin miniature (or a bottle cap) behind one of the barrels. Done.
There might still be questions, and there should be. But everyone is on the same page (literally), and things will be much less cramped from there.
What kind of Visual Aids are there?
There are three basic categories of gaming aids that will help you set the stage and run your encounters better. The first ones are maps and tiles, the very foundation that everything else literally stands on. Next come the surroundings, which are all the things standing around, up to and including walls and buildings. And finally, we have miniatures to represent characters, their enemies, and all kinds of innocent bystanders.
Let’s dig a bit deeper and find out what you can get and how you can make the best use of it. Yes, I am heavily into using papercraft for all of these, but I will give you a more general overview here, and go into what paper can do for you in a different article.
Maps
When you build a scene, this is virtually your foundation, the basis everything else stands on. The most basic version of a map is the aforementioned flip chart paper. No distractions. Just a grid that fits most rule systems to standardize movements. And the options to use various pens to create the scene.
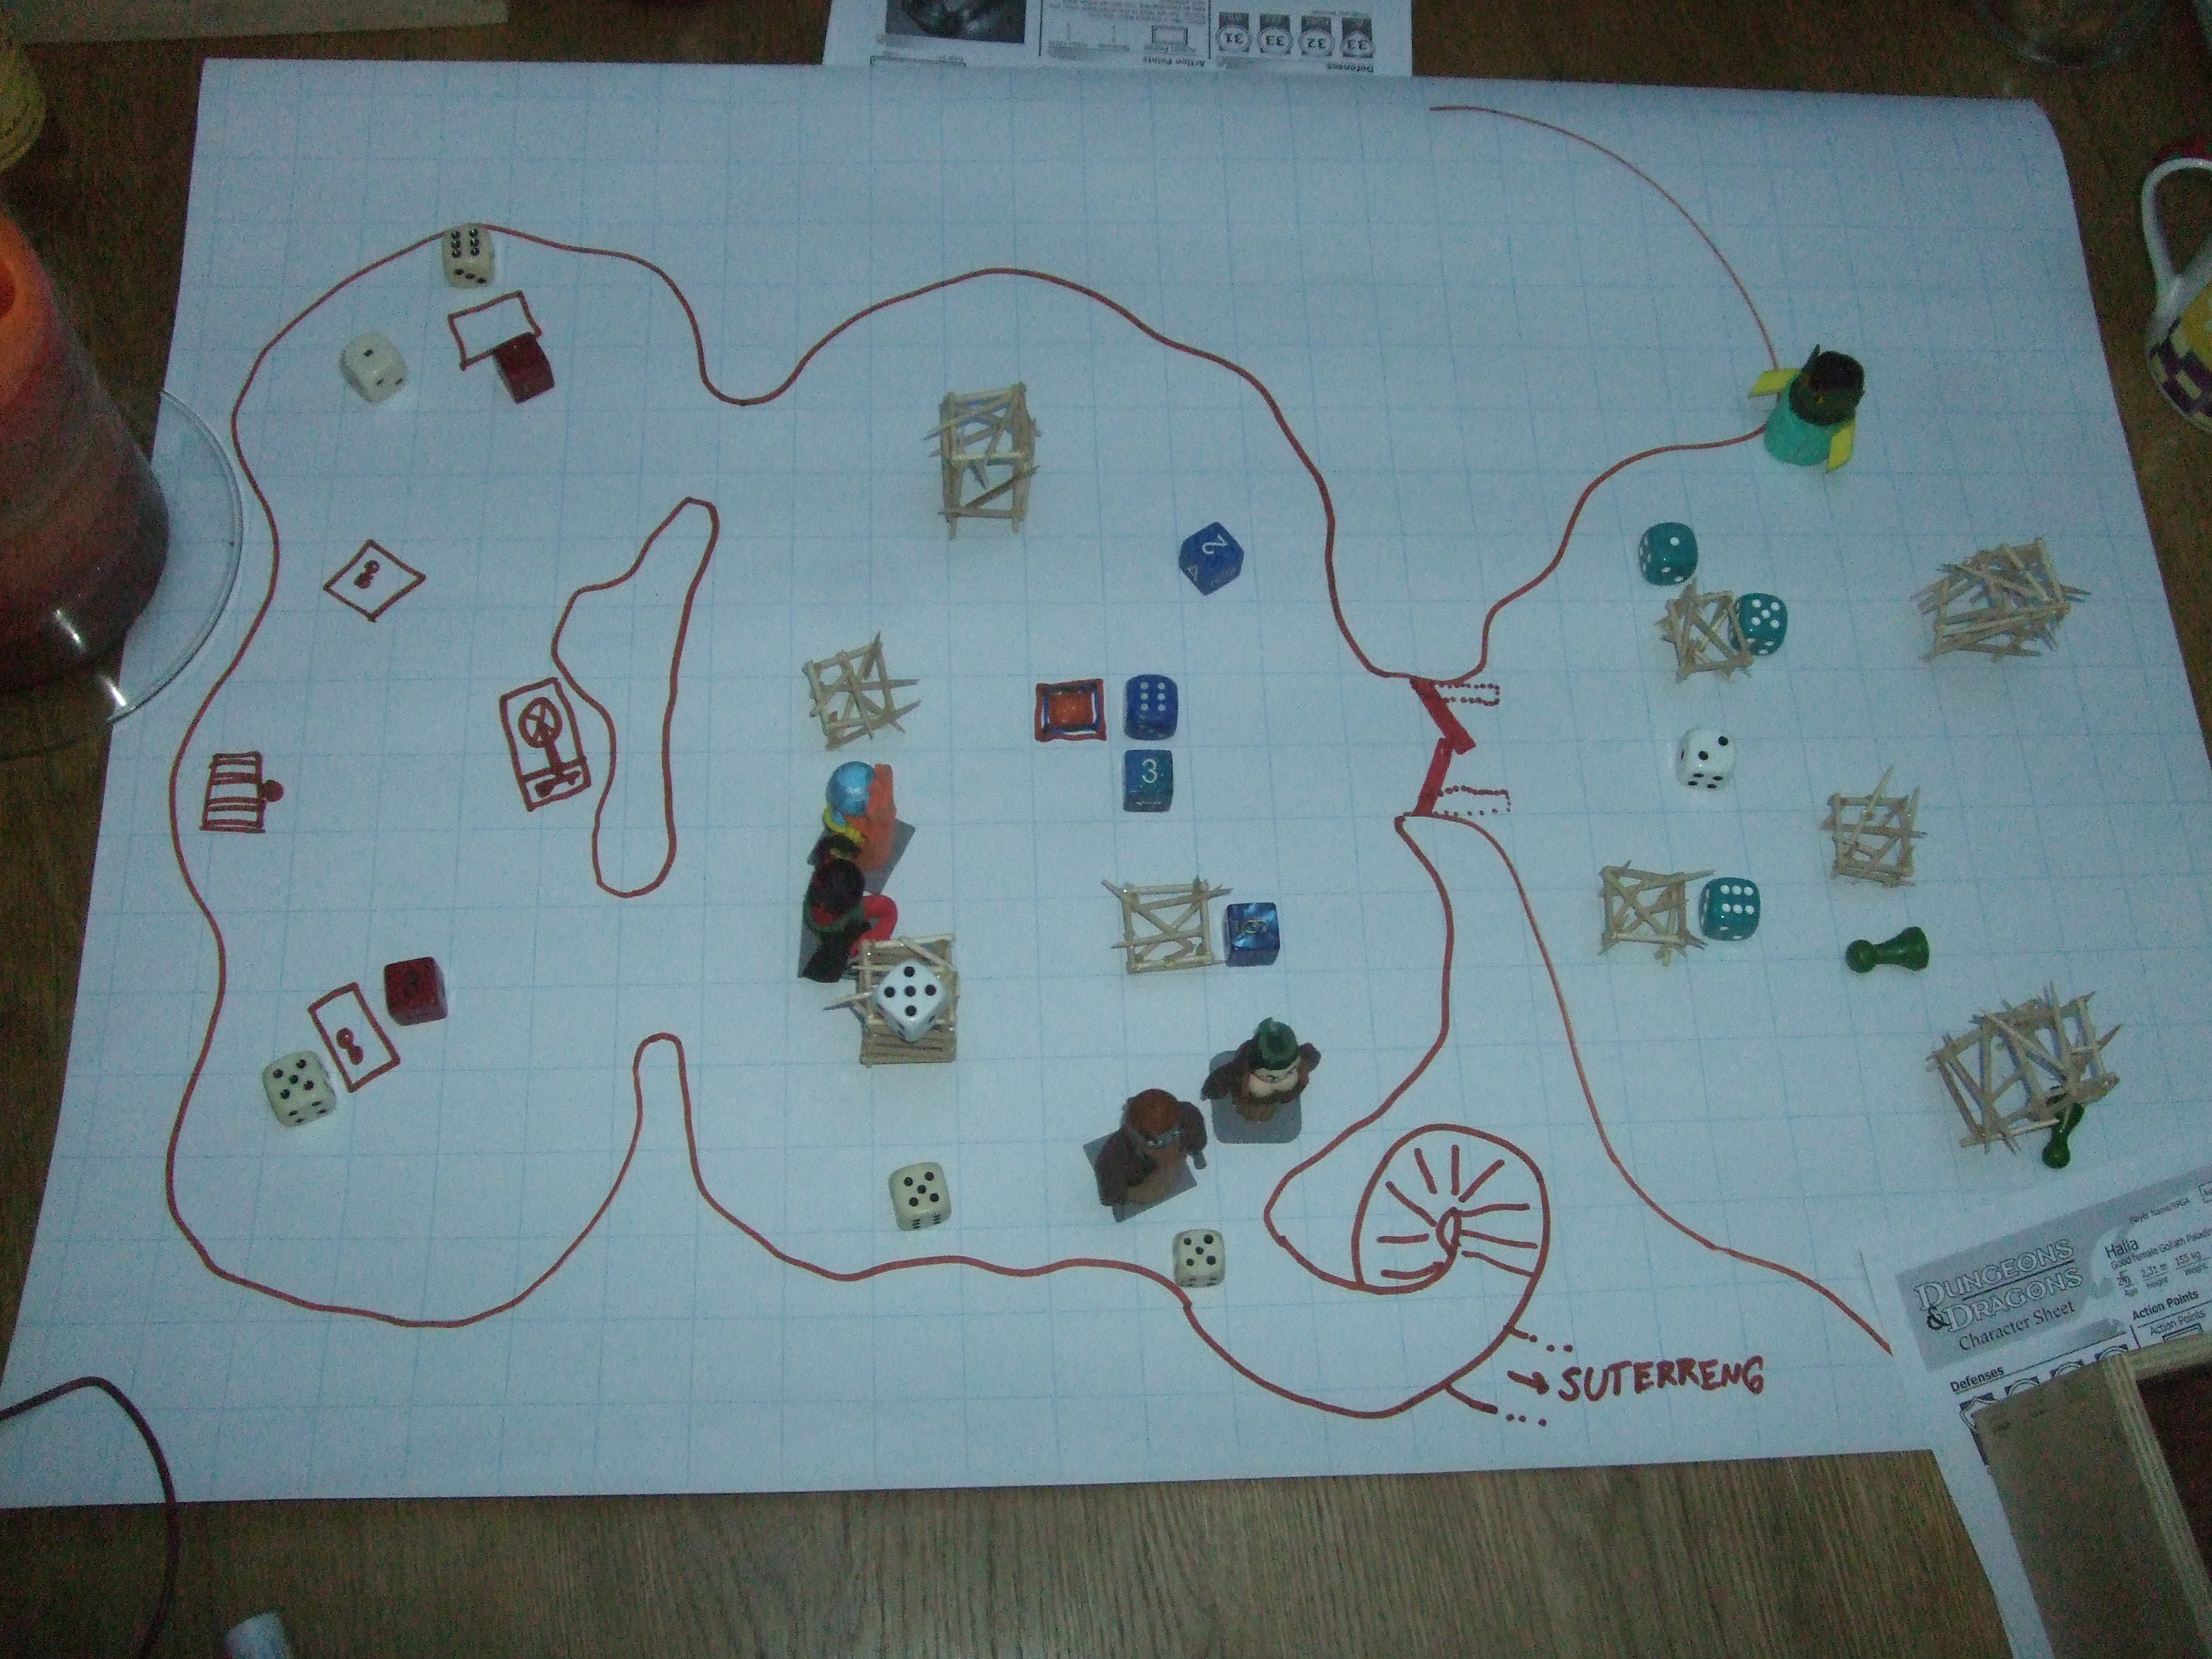
You can go simplistic with only adding walls and major obstacles (like that giant stone pillar that nobody knows where it came from in the center of the room). Or you can go all-out artistic and add the actual ground, obstacles, and details (like the remains of that one creature who knew where the obelisk came from).
But speaking of art, there are many maps out there that are beautifully drawn and well detailed to bring the scenery to life. Most of them are somewhat specific in nature, like temples or ruins, but even in that, they can be repurposed easily. You can buy them as a physical product, usually with a small adventure to go along with the map. But you can also download them on the internet and then print them out and piece the pages together on the gaming table.
Tiles
Taking versatility one step further are tiles. They are pretty much maps cut apart and allow you to puzzle together the scene you need, giving you more freedom to design your own thing in the process. One advantage here is the possibility to replace tiles or flip them. This way, you can show a door as closed, then flip it to be open. Or the ritual circle in the ground is dormant, until a character steps on it and it suddenly lights up with an eerie, green glow.
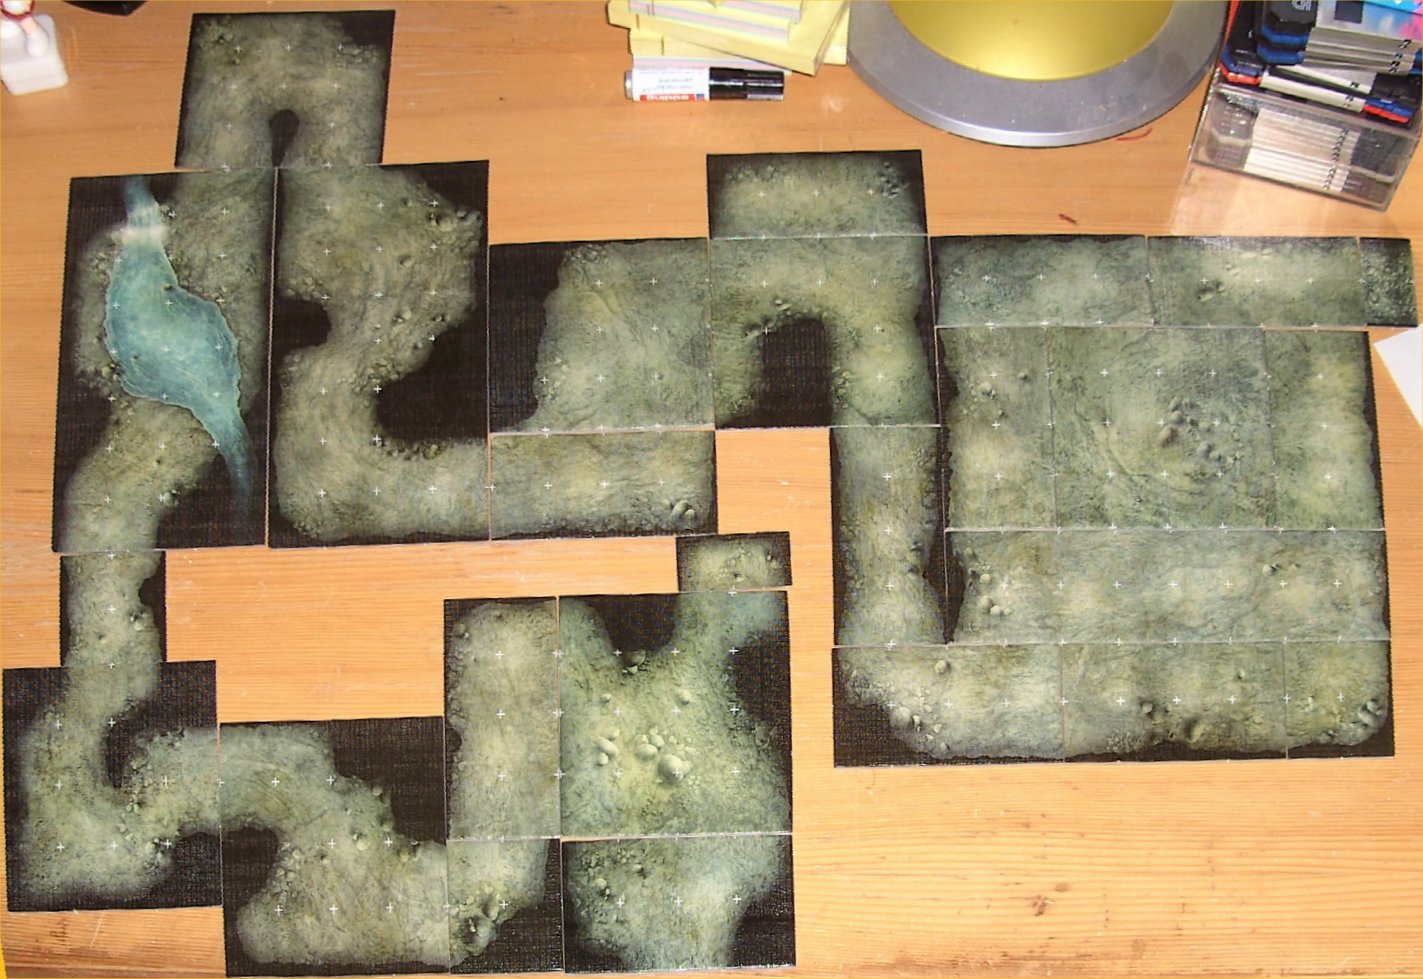
You can also have the best of both worlds and use a map combined with tiles. Granted, some combinations will not work well style-wise. But especially with maps you can print yourself, you have the option to cobble parts together and overlay them to create something that fits your narrative better.
Surroundings
For scenery pieces to work you pretty much need a map, or at least the basic grid (again, think flip chart paper). In fact, you should look into maps before getting into scenery pieces. A room without furniture looks a lot better than furniture without a room.
The simplest pieces here are definitely crates. They can be placed in a room, used to create hidden spots and they make it easier for characters to actually make use of the environment. For example, they could kick or throw them, and represent the movement on the grid. There is so much you can do with crates in an empty room (maybe I should write an article on that?).
Speaking of rooms, another common and versatile element of surrounding visual aids are walls. Granted, things get a bit more serious here, because you will most likely want a system that lets you build different layouts, with corners and doors and so on. But fear not, there are systems available, from easier to more complex.
Walls can be a mixed blessing, though. They add a lot to the scene – a third dimension, you might say. But they can also block the player’s line of sight. It is a cool thing to actually visualize when a character does not spot that lurking troll because there were crates in the way. It is not as much fun when the same thing happens to a player.
I could go into more detail, but I hope that you have a pretty good idea on what surrounding pieces are for your game session now.
Miniatures
Miniatures are representations of your characters. They can look like the character you envisioned, or you can make your character look like them. Either way, these visual aids are “you” on the battlefield (and even in peaceful scenes). You move them as the character moves, and you use them to determine the range of attacks or effects.
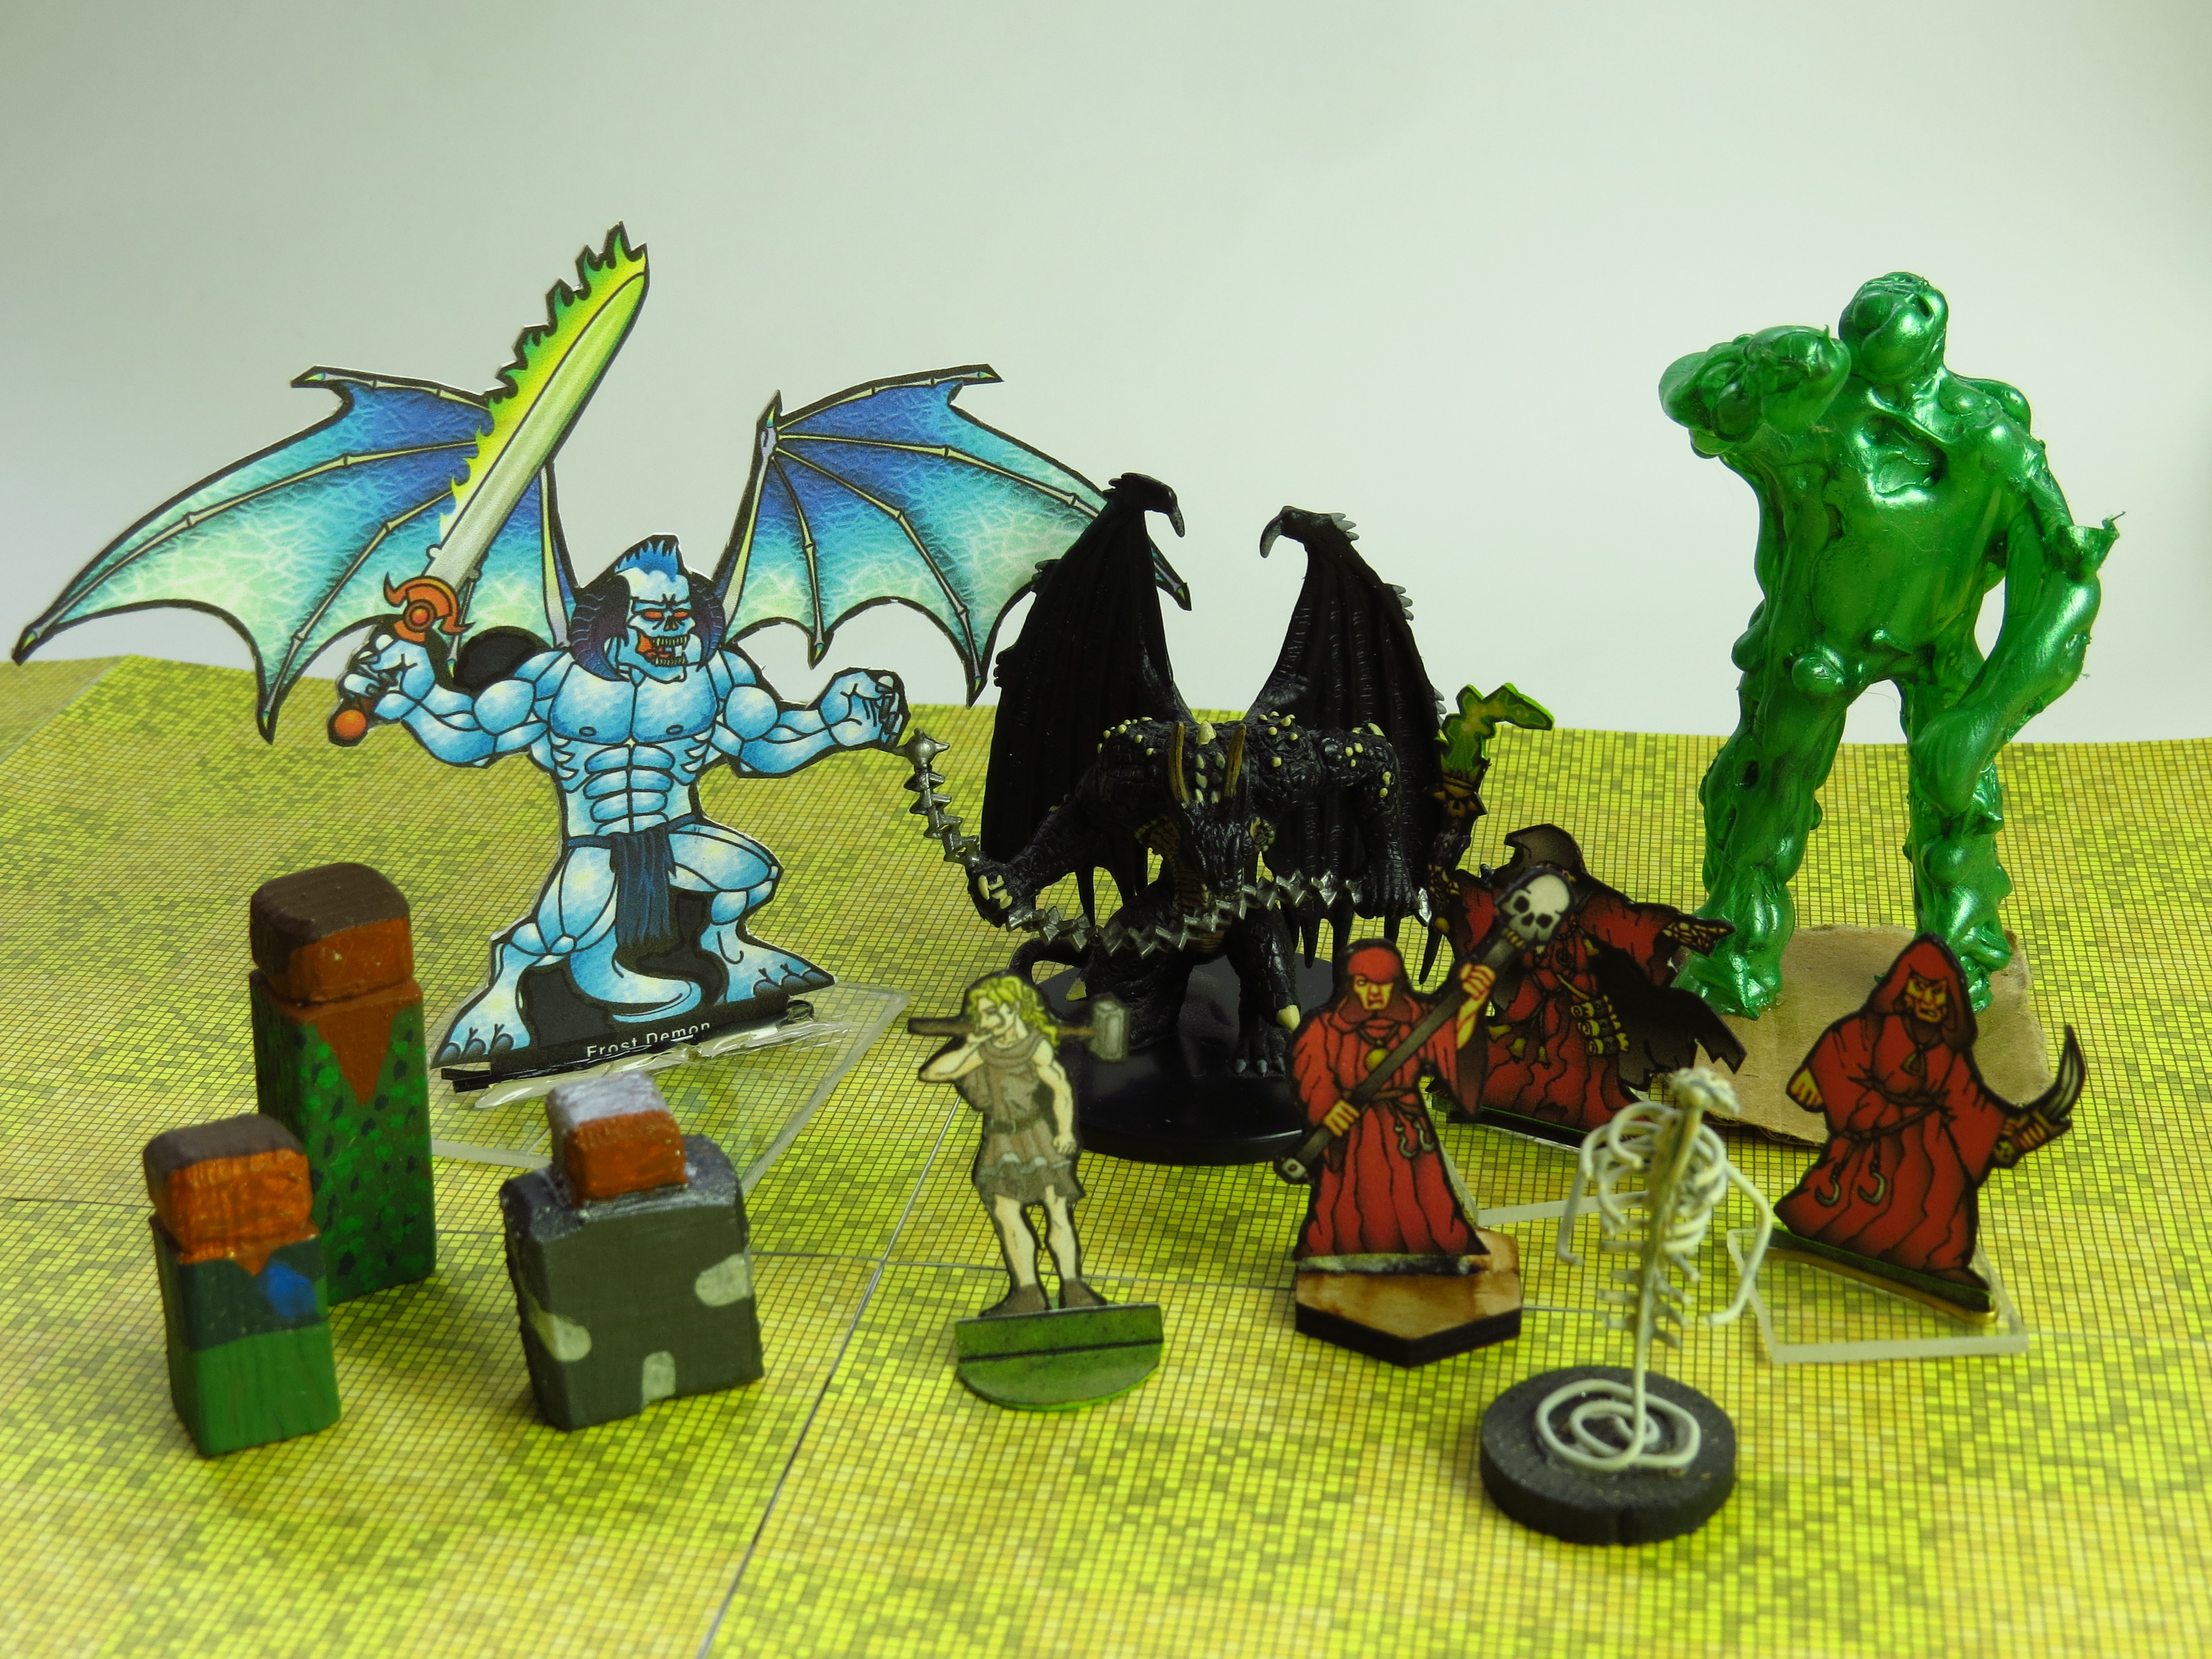
There are different kinds of miniatures. You can buy them ready-made from plastic or resin, or to print out on paper and make yourself. You can even get them unpainted and paint them yourself. That is something I would not recommend for roleplaying characters. Unless you want to build a tabletop wargaming army on the side (and paint loads of miniatures).
I will go into why I love paper miniatures so much in another article. But no matter the material and source, choosing a miniature for your character will be one of the best decisions you can make when it comes to enhancing your game.
This holds true even when you are not actively using it because it gives your character a presence that is hard to describe. But of course, you should use it actively, and also use miniatures for your enemies. They make all the difference, and if you use flip chart paper and only want to add one more thing, go for miniatures!
There is also the option of making your own, and it is not as hard as you might think. But I will go into that in a future post.
(Props)
This category is different from the others because it has nothing to do with setting a scene or fleshing out an encounter. Props are things the characters have that the players can hold in their hands and interact with. This could be a charm, a cup, a wand or a helmet.
I am including this here for the sake of completeness. They only make sense for long-standing groups, though. At some point, there will be an article going into more detail about this kind of gaming aid.
Still not Convinced about Gaming Aids?
If you are still on the fence about this, consider that fences would make interesting visual aids, too. But all joking aside, using visual aids might not be for everyone. Maybe you are intimidated by the sheer number of things you could add to your game. Maybe you want to start things slow.
That’s okay. We all have to start somewhere.
Get some grid paper and try it out with bottle caps, corks, or anything else that fits the grid. From there, I would recommend looking into miniatures – there are free ones out there that you can make from paper. They will give your party a sense of what playing with miniatures can be like.
You do not need a massive library of different minis to throw at your players. Nor do you need to be able to construct whole dungeons, castles or cities with paper models (although that is possible). Your imagination is still the key to this all, and visual aids are meant to help, not cripple you.
If any of this has sparked your interest check out my other roleplaying inspirations or my papercraft. I will also invite you to join my email list. This way, you will be notified when other blog posts come out that delve deeper into these subjects.
Until then, have fun playing, and remember that your imagination is the limit!
2 Comments
How to Build Paper Models - a Beginner's Guide - Walking Papercut · November 14, 2017 at 11:28
[…] you do not want to build paper models, check out why you should be using visual aids in your roleplaying games. Then come back and find out how to make them from paper! Not only are paper models and minis a […]
Benefits of using Paper Models in your Roleplaying Game - Walking Papercut · January 3, 2019 at 00:52
[…] decision. If you are not sure whether you need visual aids in your roleplaying games to begin with, let me convince you. Read on below to learn about what paper models can bring to your gaming […]
Comments are closed.