Next to their toy kitchen, my kids are currently really into their cardboard space ship. They are flying back and forth, exploring new planets and discovering unknown life forms (featuring the cats). To upgrade their equipment I turned two boxes into a cardboard view screen for them – and so can you!

The best feature: you can print almost anything for the view screen to display! I started out with a number of beautiful pictures from NASA’s Astronomy Picture of the Day, but you can also take cues from your favorite science-fiction shows or games. And make sure to fetch the free Sensor Package below!
The Cardboard View Screen Instructable
I wrote an Instructable for the Cardboard View Screen, which you can find and enjoy here. It details all the steps required with pictures, allowing you to make your own screen in no time.
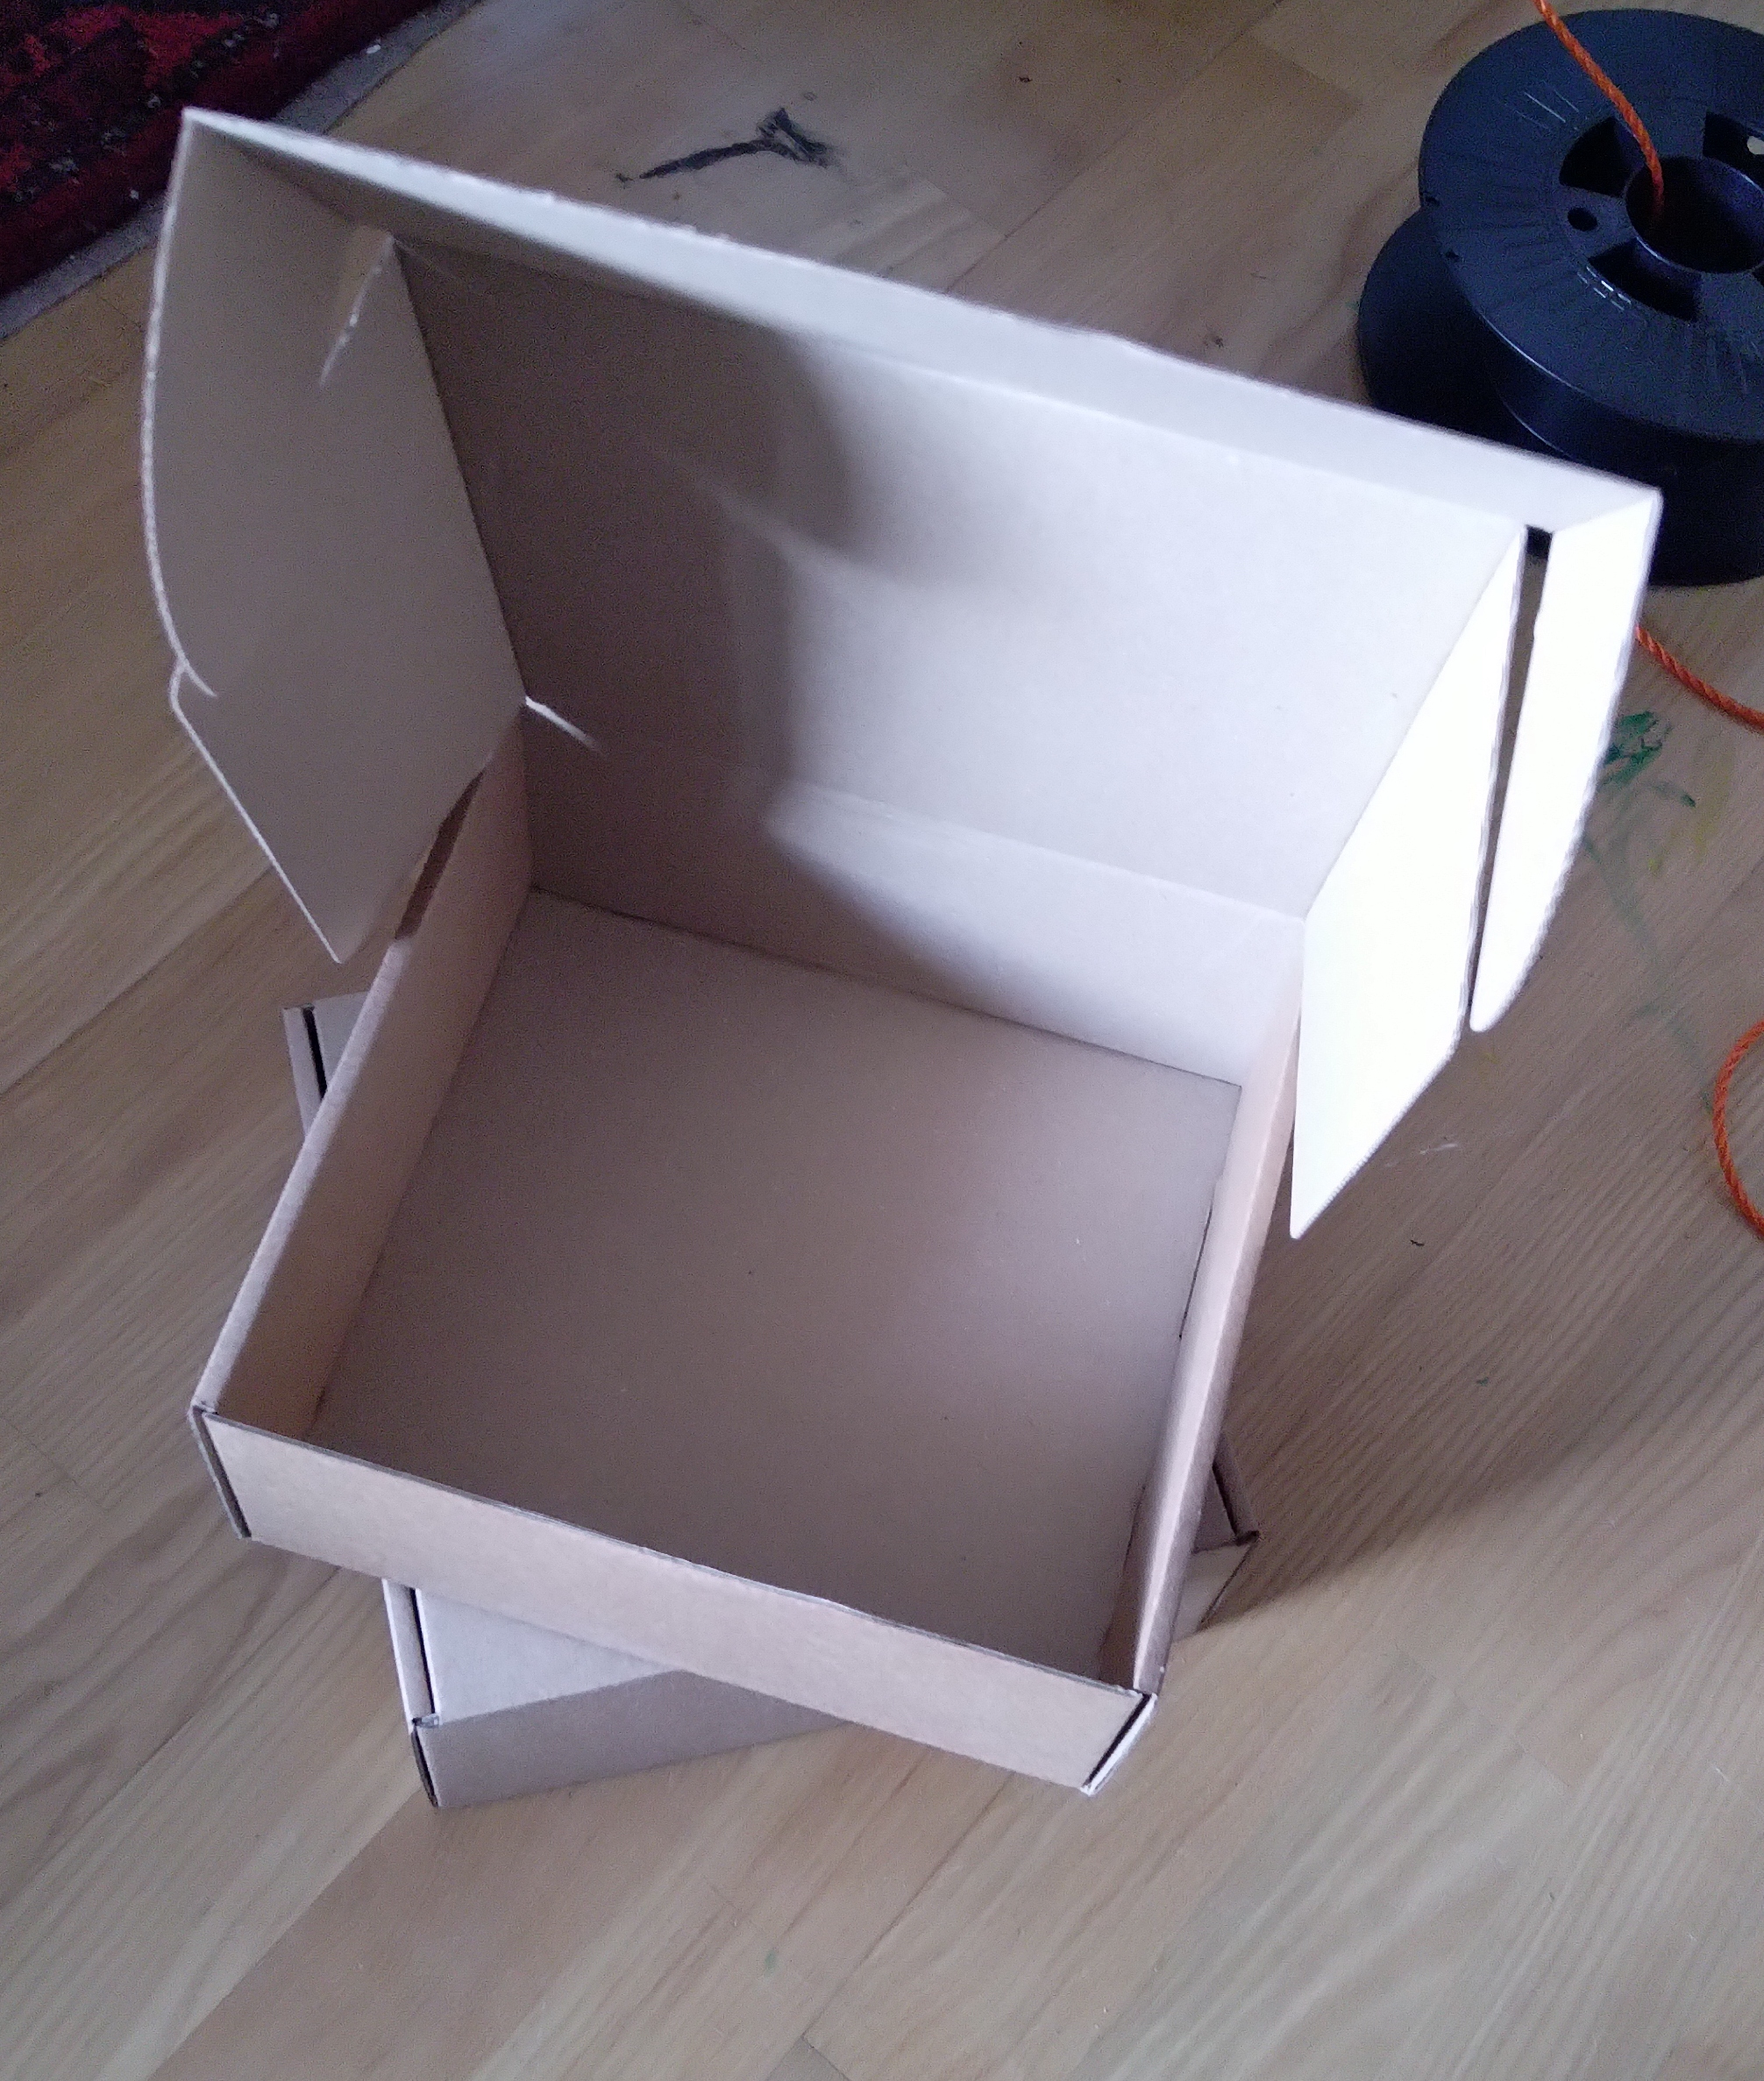
All it takes are two filament spool boxes. If you are 3D printing, or know someone who does, you should have an easy time getting your hands on two of those. And this project turns them into something cool that you or your kids can enjoy for quite a while.
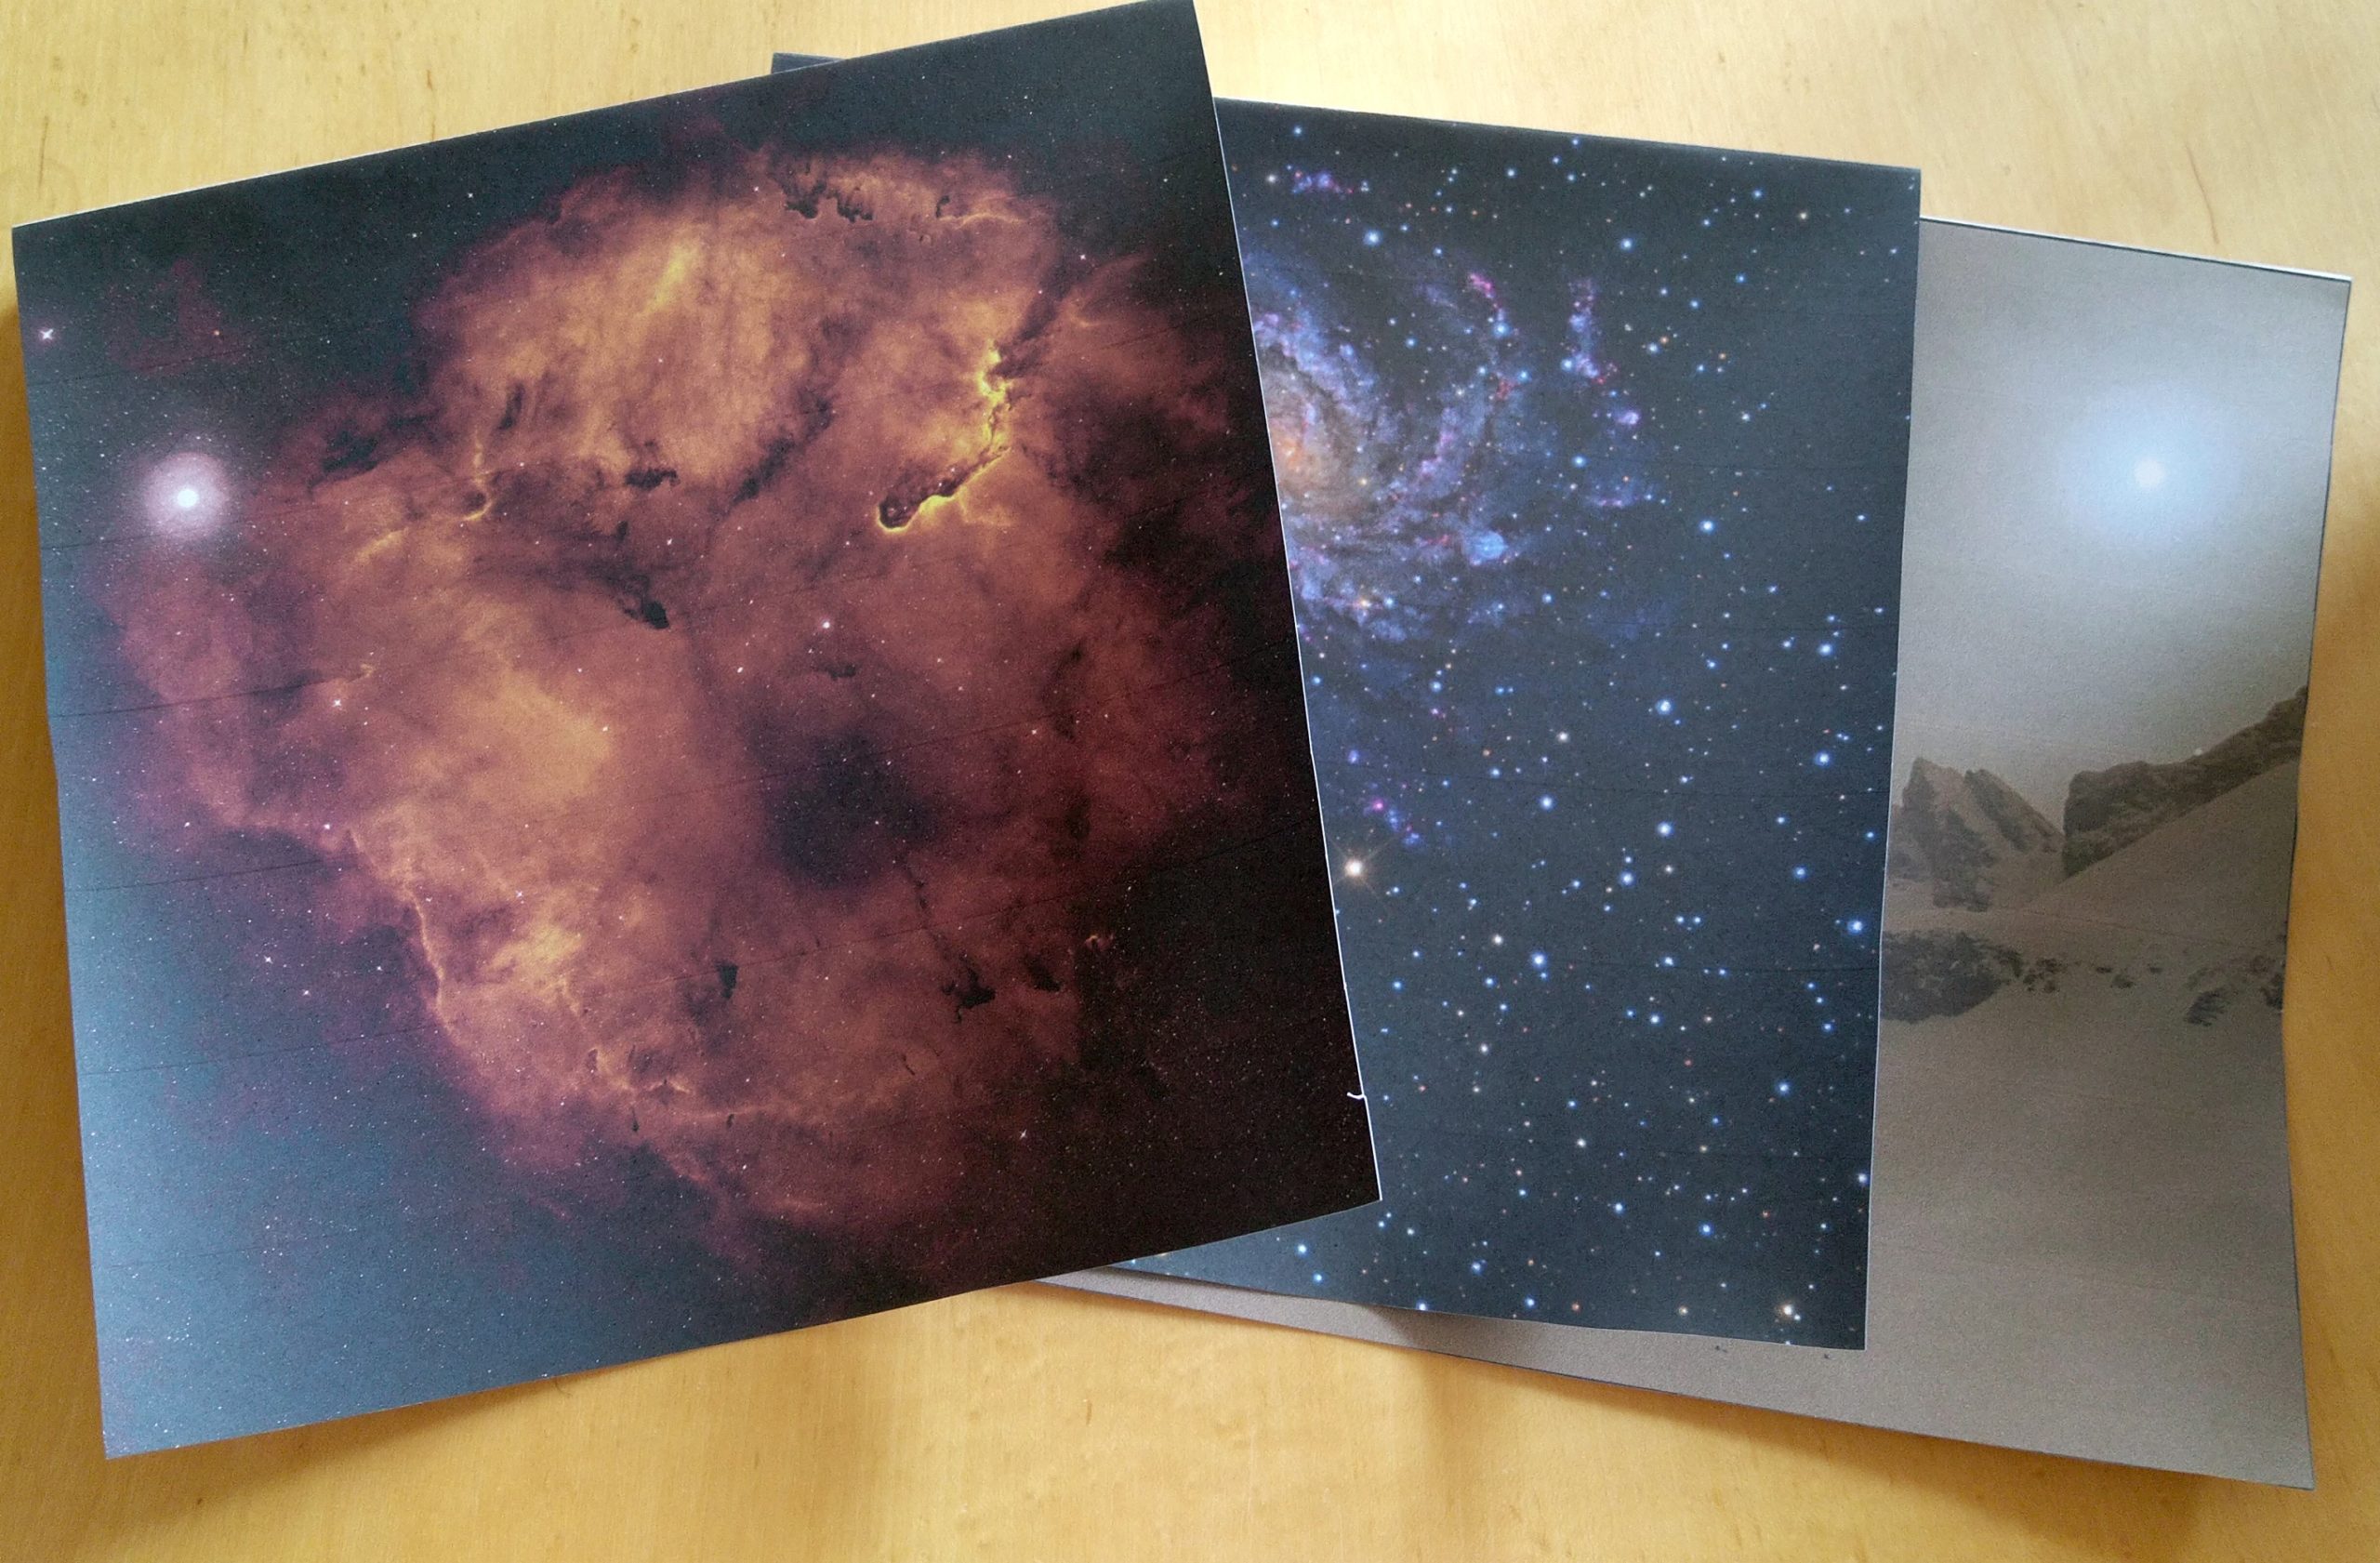
What to Display
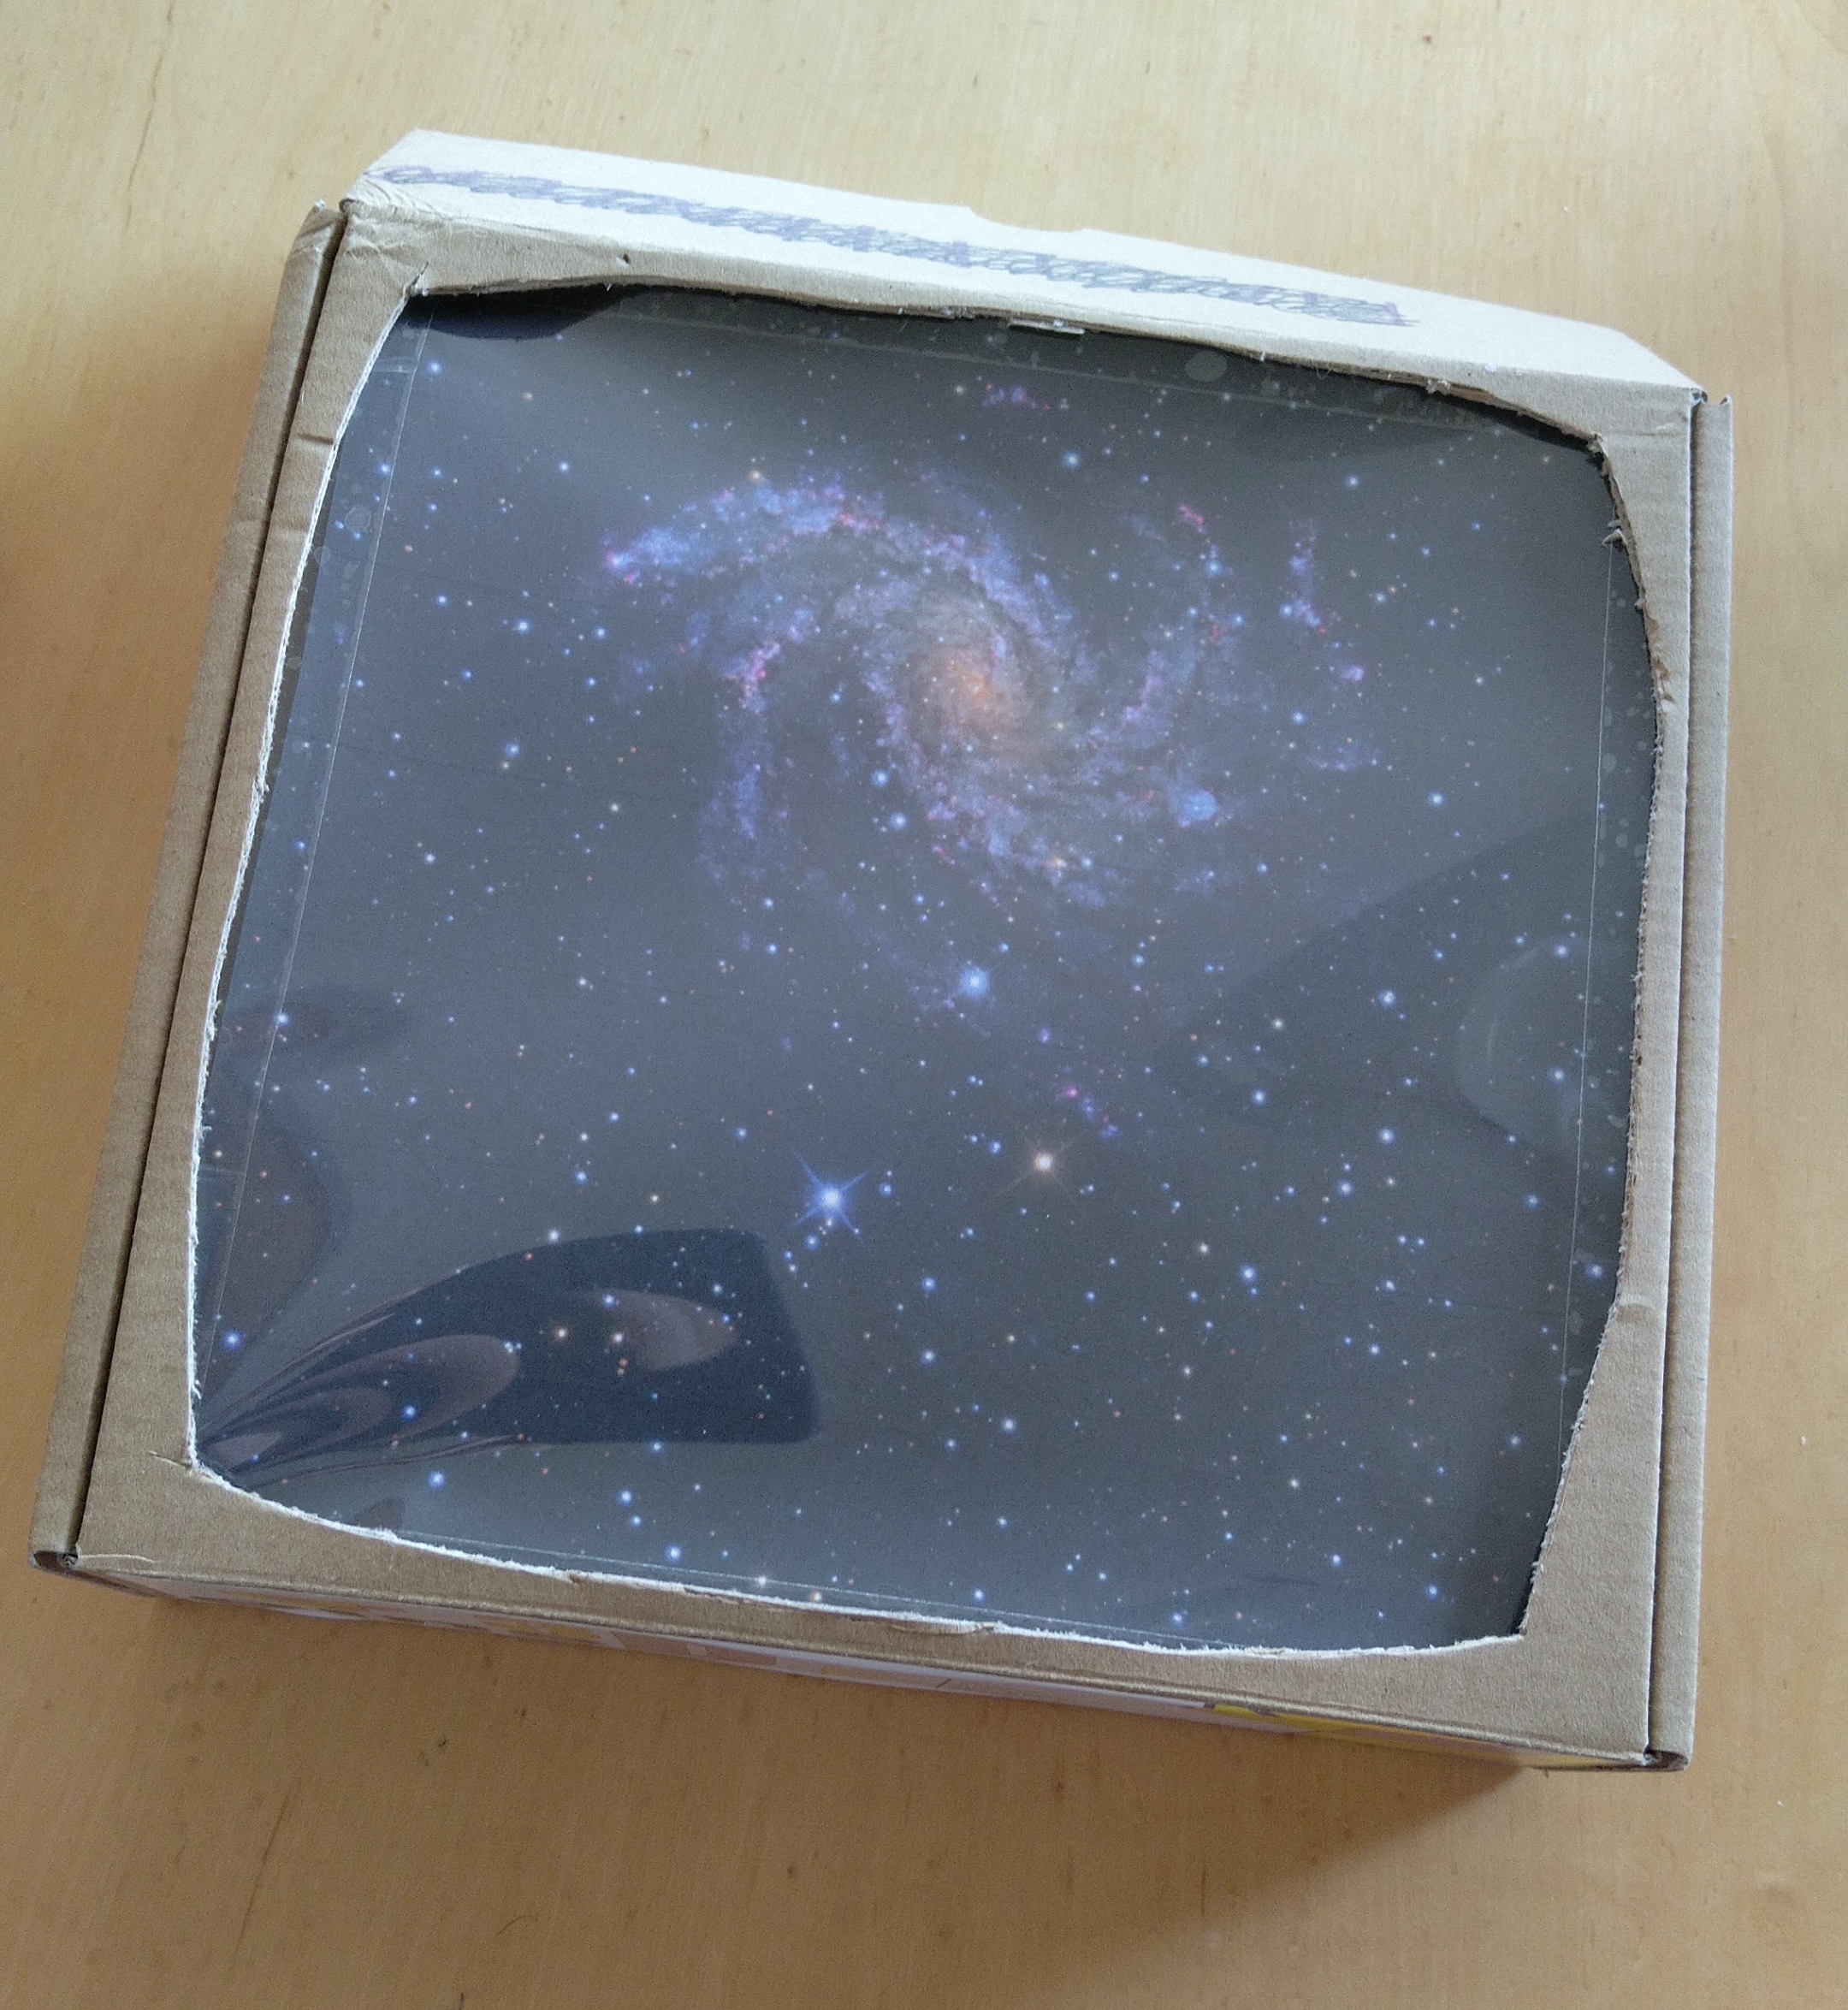
Beyond the Astronomy pictures mentioned and linked above, there is literally no limit to what you can put on screen. Any image that can be printed in the size of your screen (mine turned out to 20cm by 20 cm or 4″ by 4″) will work.
In addition to the marvels of the real cosmos, you can also use an image search engine to find high-resolution images from movies, TV shows and games. Keep in mind that while the primary use of a view screen may be to show images, it can also be used as an input device. Just draw any buttons, sliders and control elements you want, print them, and you have yourself a star ship console.
The free Sensor Package
I created a collection of additional resources for the display to show. These include scans and surveys that work well on their own but can also be used as an overlay for existing images.
To use them that way, print them on transparency sheets, cut them to size and slide them in front of the image you want to scan. This works well for light images, but since printers cannot print in white, you might have to cheat for darker ones. Glue pieces of white paper behind those parts that would otherwise disappear in front of a star-filled void.
You can download the Sensor Package here.
Thank you!
I hope you enjoyed this build and the potential for fun it offers. I would love to see your cardboard view screens, and the images you print to display with them. Make sure to check out my other papercraft projects as well as my roleplaying inspirations, too.
Until next time, Be Inspired!